Making the Rig Game Ready
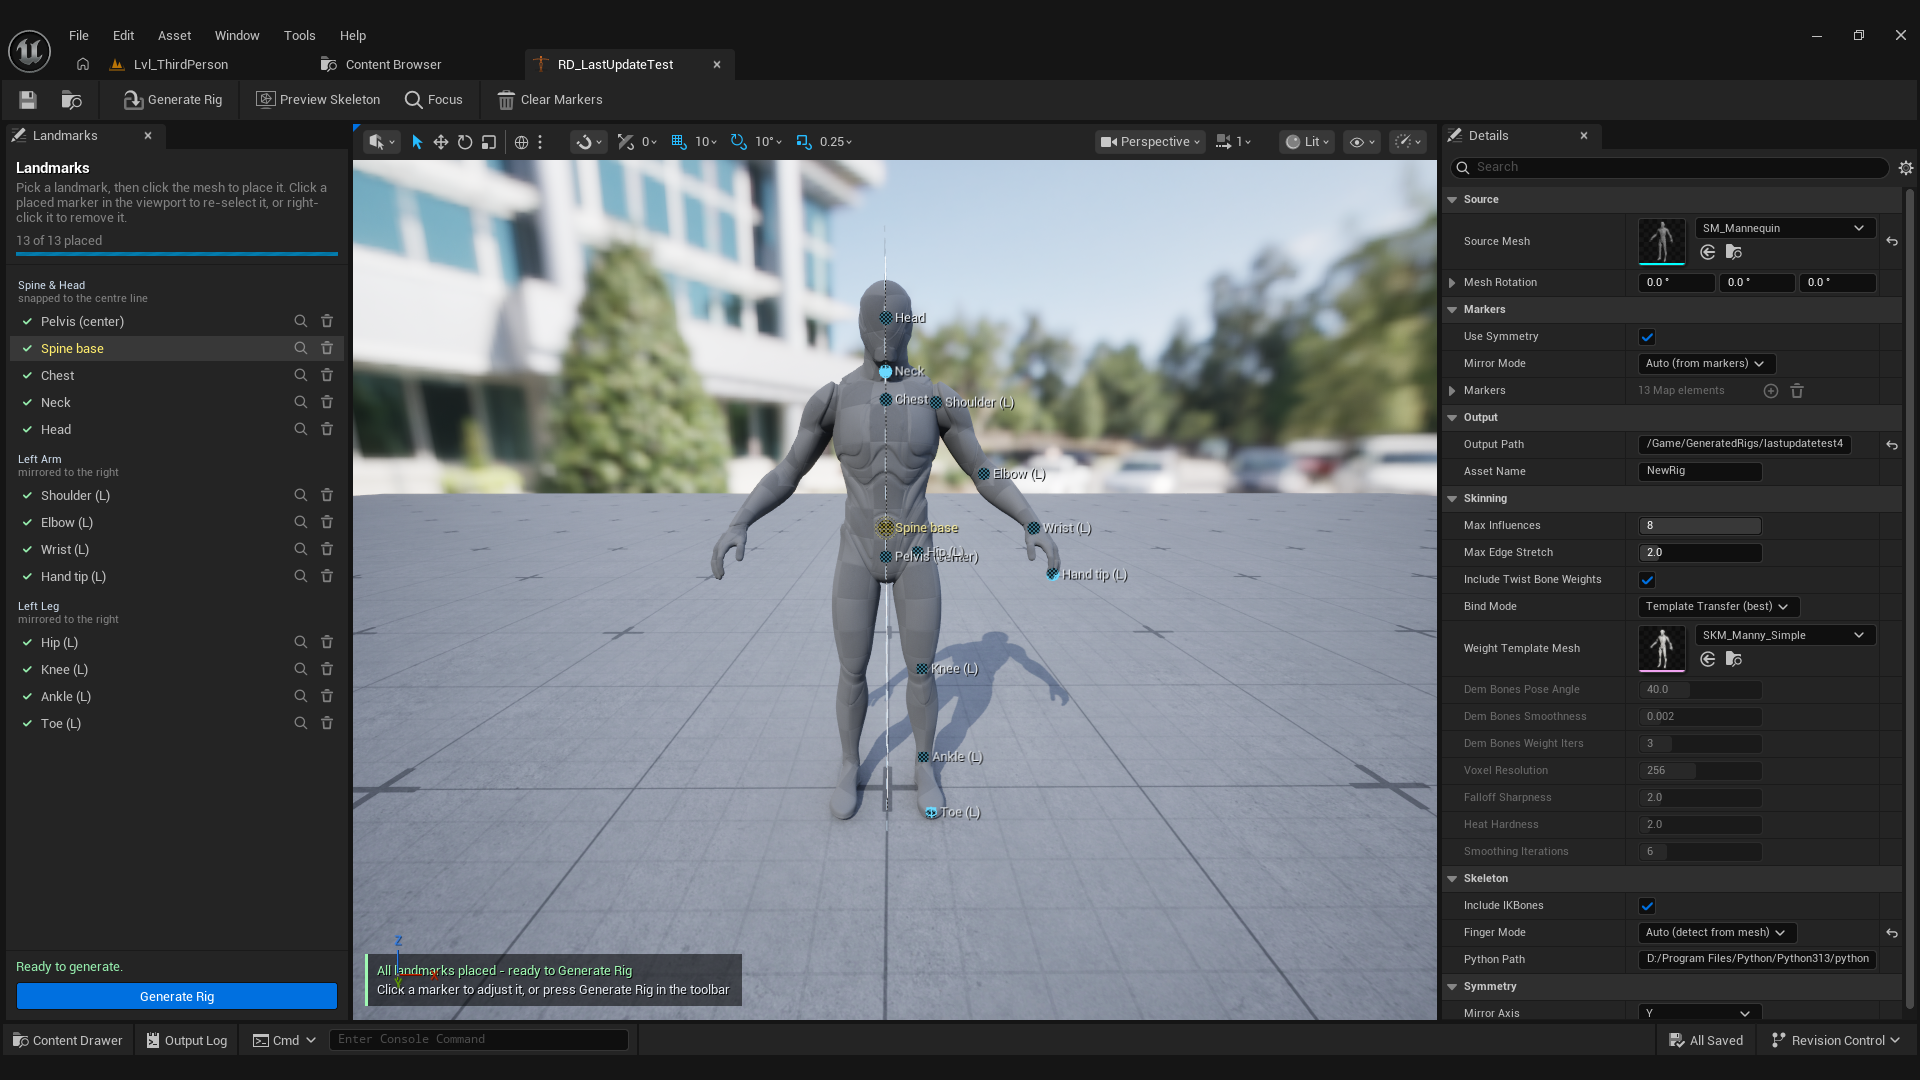
After the seam fix my rigs stopped tearing and the weight paint finally looked good. Good is not game ready though. A rig that ships has to survive any animation, not just look fine in the reference pose. This is what I did to close that gap, and the two bone placement bugs I found on the way.
The twist bones were dead
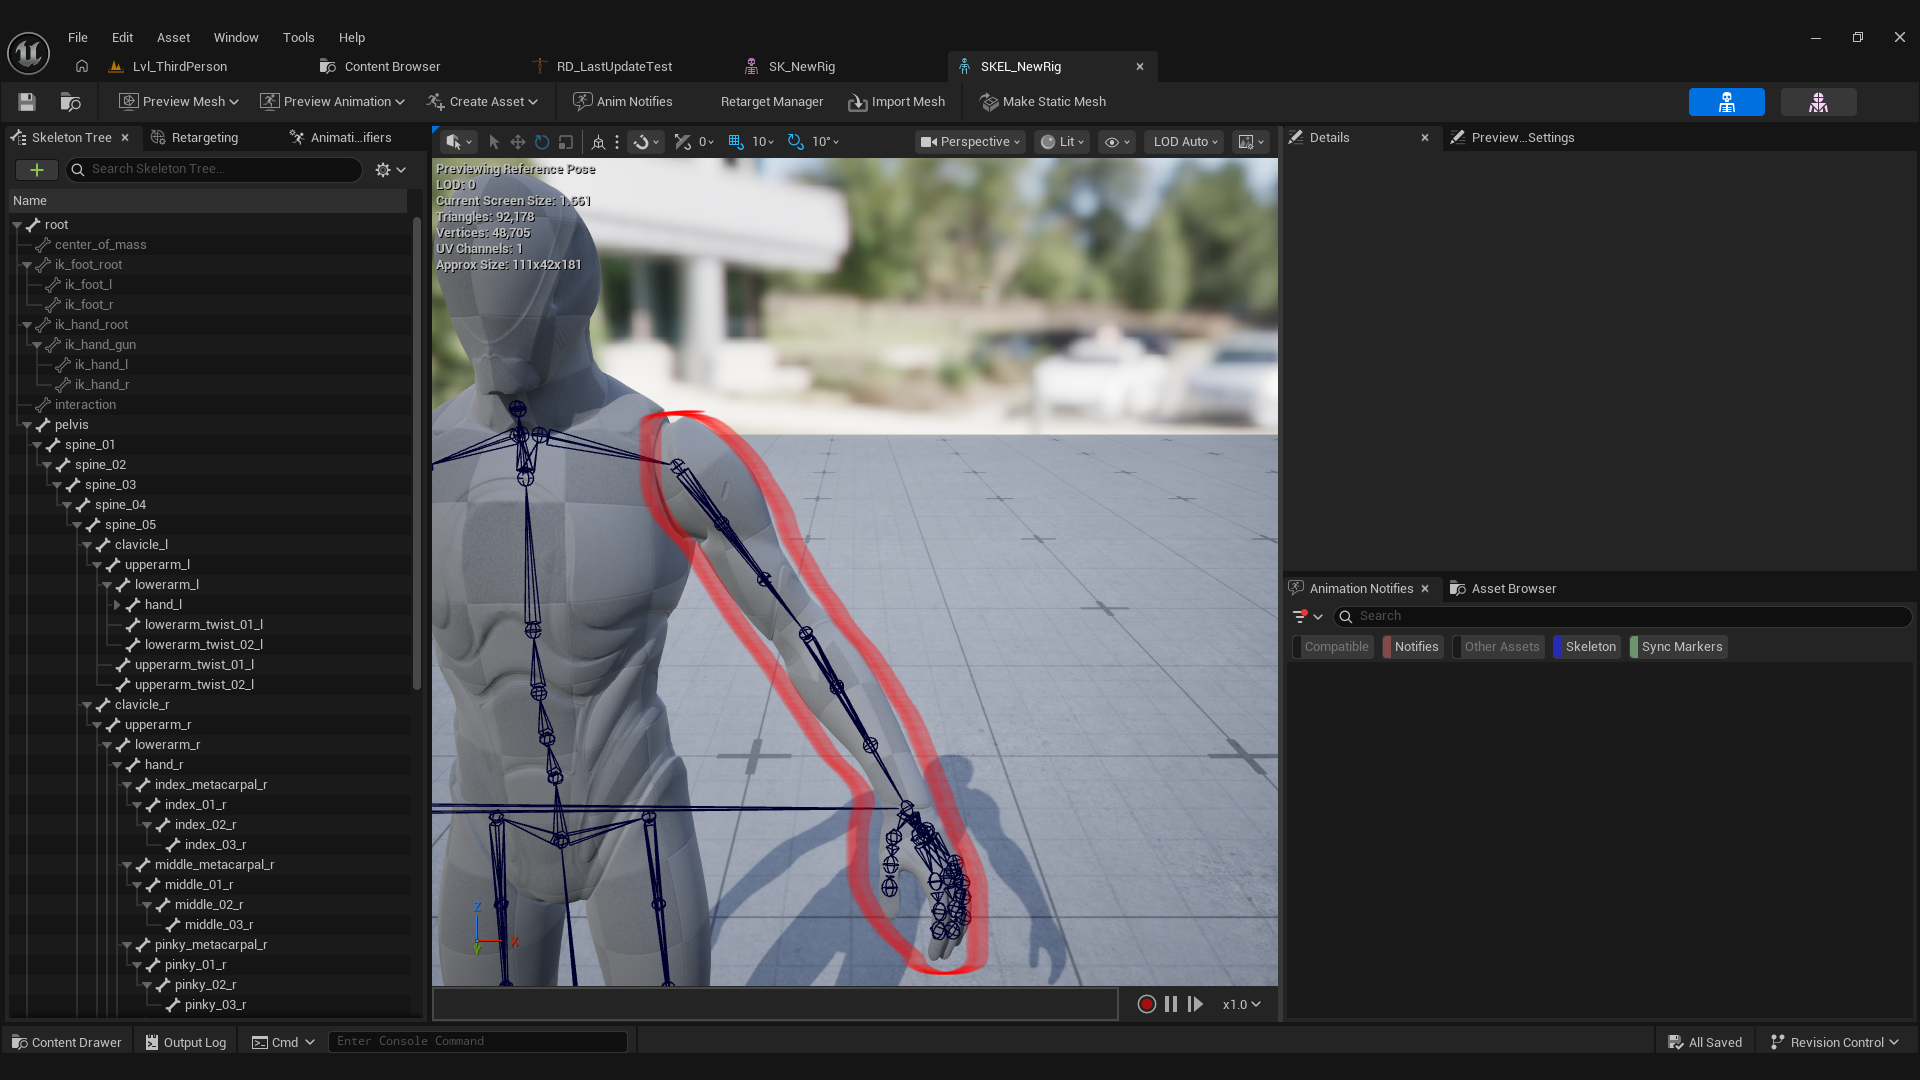
My skeleton has all 89 Manny bones, and 16 of them are twist bones: lowerarm_twist_01, upperarm_twist_02, thigh_twist_01 and so on. They are the bones that spread a limb's roll along its length. Without them, when the wrist turns, the whole forearm twists at one point and the mesh pinches like a candy wrapper.
Mine were doing nothing. Two reasons:
- The fitter parked every twist bone on top of its parent joint, so a bone that is supposed to sit in the middle of the forearm was sitting at the elbow.
- The weight transfer folded all twist weights into the parent limb bone, so they carried no weight at all.
I fixed both. Each twist bone now sits at the same fraction along the fitted limb as it does on Manny, and the transfer keeps Manny's authored twist weights instead of throwing them away.
This costs nothing while the twist bones sit unused. A twist bone that no animation touches follows its parent exactly, so a vertex weighted to it deforms the same as if it were weighted to the parent. Nothing in the mesh changes. Once a retargeted animation drives them, the forearm rolls properly instead of pinching. 49 percent of the mannequin's vertices carry twist weight now, and a vertex in the middle of the forearm ends up weighted 0.70 to lowerarm_twist_02 and 0.30 to lowerarm_twist_01, which is what a hand painted rig looks like.
A ceiling on tearing
My stress test bends one joint and measures how far each triangle edge stretches past its rest length. The shoulder was 12.4x.
For an edge between two vertices, everything that pulls them apart comes from their weights being different. Writing that out gives a bound:
stretch <= 1 + (weight difference inside the joint's subtree) x (how far that joint swings the vertex) / (edge length)
The useful part is the subtree. At an elbow, the weight moving from upperarm to lowerarm cancels out inside the shoulder's subtree, so the shoulder's big swing counts as zero and an honest wide blend across the elbow measures fine. But a chest vertex that stole 40 percent of upperarm from its neighbour has nothing to cancel against, and it scores 23x.
So now I can set a ceiling and enforce it. After binding I walk every edge, and only the ones that break the ceiling get their two vertices blended toward each other, by exactly the amount needed and no more. Everything that already behaves is untouched, which is what keeps Manny's authored blends intact.
Worst edge stretch, before and after:
- shoulder, 12.4x to 5.7x
- elbow, 3.0x to 2.6x
- wrist, 3.3x to 2.2x
- knee, 2.9x to 1.8x
- head, 3.4x to 1.9x
The ceiling is a setting called Max Edge Stretch, with a default of 2.0. Lower values relax more edges, higher values relax fewer.
Two problems with the first version:
- I charged twist bones the full lever, like any other joint. That flagged the sharp boundary between the forearm and its twist bones as tearing and smeared the twist weights back into the parent, deleting the thing I had just added. Twist bones only ever take a fraction of their parent's roll, so they get grouped with the parent now.
- My first version measured the budget purely as a ratio. The mannequin's armpit has edges 1.4mm long, and on a ratio those have to be ten times more rigid than their neighbours to end up with the same size gap. The budget has a floor based on the mesh's own edge length now, so a short edge is measured against the same gap as everything else.
What game ready actually means
The last pass is the boring one. Every vertex has to be weighted, nothing can sit on a bone that never animates, no vertex can go over the influence budget, and every vertex has to add up to exactly 1. It runs right at the end, on whatever the solver actually produced, so it checks the real result instead of assuming it. The mannequin comes out with no unweighted vertices, nothing left on a dead bone, and no seams. I also raised the default influence budget from 5 to 8, because the twist bones need the room.
The editor pass
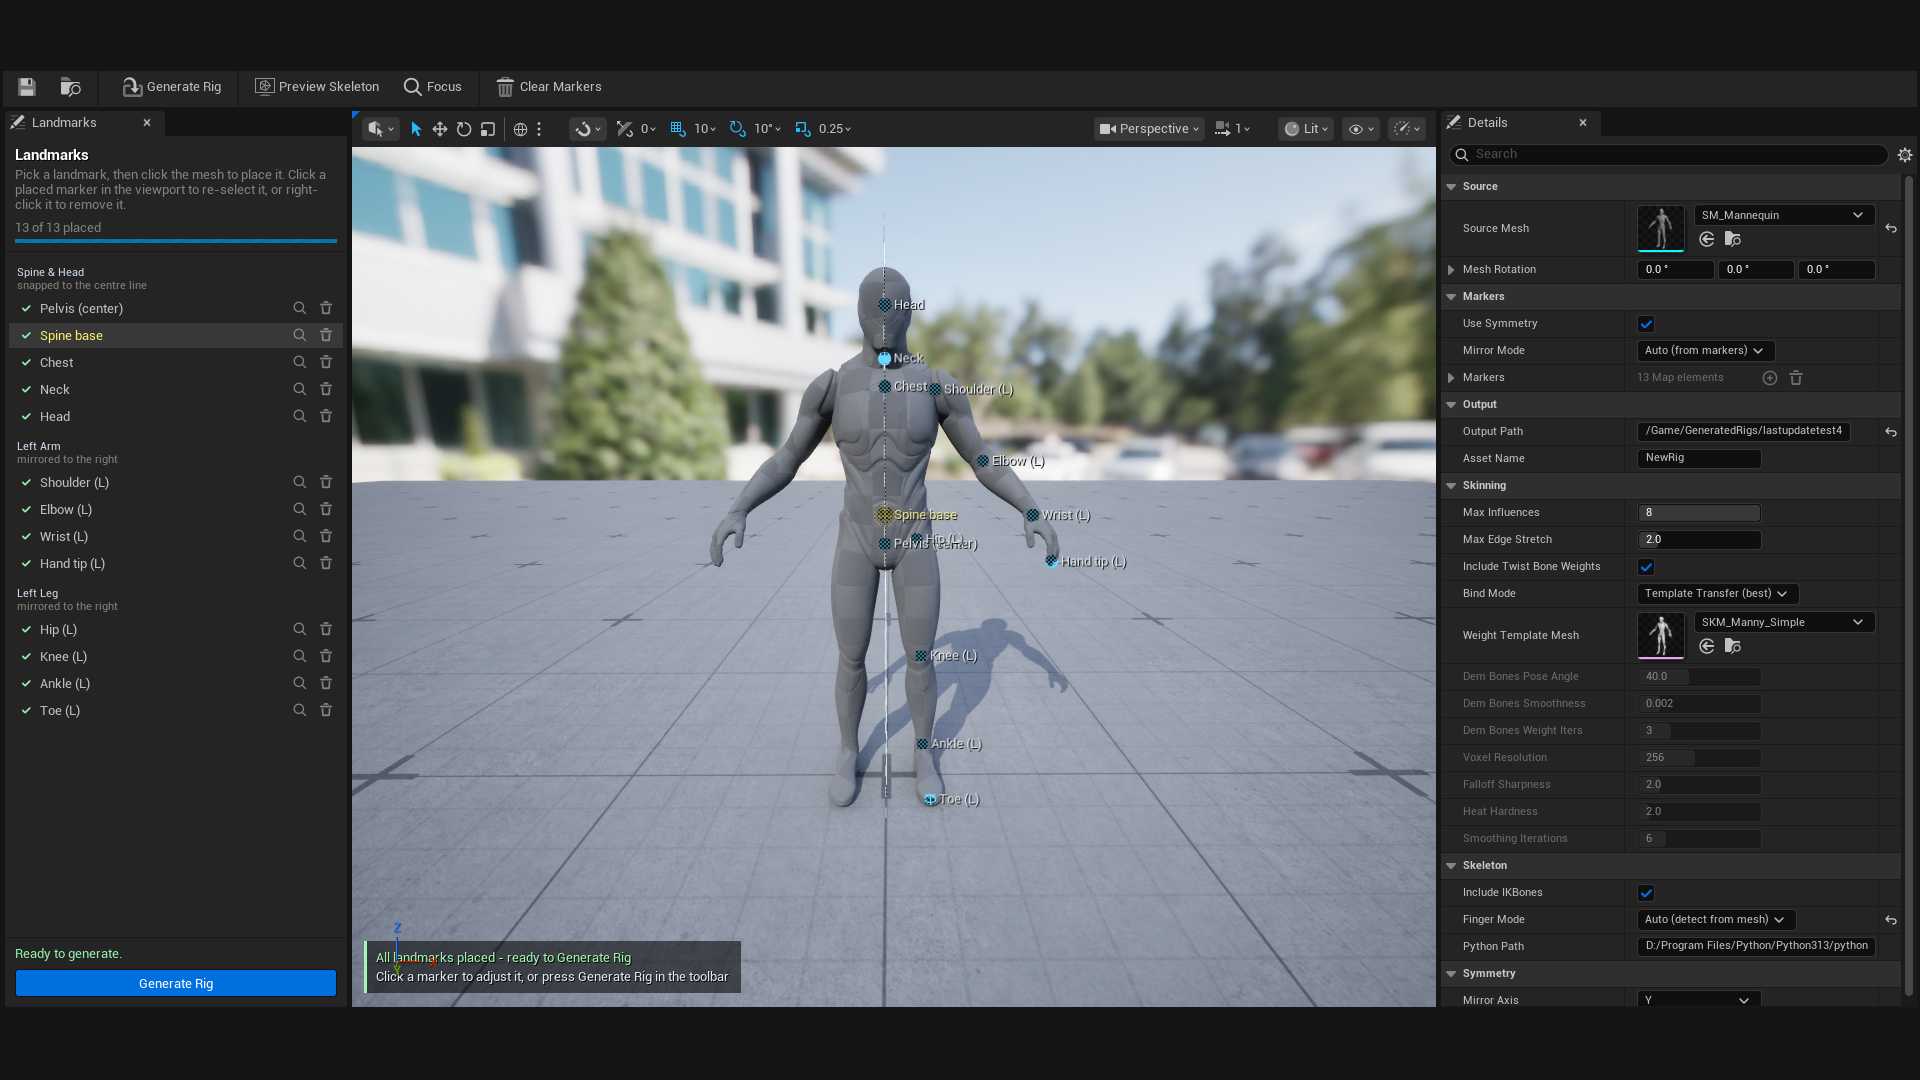
While I was in there I rebuilt the marker UI. Markers are clickable in the viewport now, so left click re-selects one and right click deletes it, instead of hunting for it in the list. There is a guide panel in the corner that always says what to click next. The landmark list is grouped by body part with a progress bar and per row focus and delete buttons.
One thing took a second try. A marker is drawn as a wire sphere and hit testing is per pixel, so the only clickable part was the thin circle itself. Each marker draws a solid dot inside the pick area now, sized in screen space so it stays the same size at any zoom.
The head bone was never going to work
Then the head started deforming badly. I was sure I had put the head marker in the right place, so I printed the numbers.
The marker came out at 153.3cm, the same height as the neck marker, and the top of the head was at 180.5cm. So my head marker was sitting down at the bottom of the neck, and the whole 27cm skull was hanging off a joint at its base.
But the head joint cannot be clicked. It sits inside the skull, roughly between the ears, and there is no surface there to aim at. I had placed that marker on two different characters and got it 9cm too low once and 5cm too high the other time.
So I stopped placing the head bone from that marker. Manny's head bone sits 35 percent of the way from the neck up to the top of the head, 9.7cm out of a 27.7cm rise, and I can measure both ends. The neck is already a marker, and the top of the head is the highest point of the mesh. I only take the highest vertices near the head, so a raised arm or a prop does not count as the top of the skull.
On the mannequin the solved joint lands within 3mm of Manny's real head bone, from both of my old marker placements. Head stretch went from 3.4x to 1.9x as a bonus. The head marker is still in the list, it just tells the fitter which way is up now.
Deleting the chin marker
While looking at this I checked what the Chin marker actually did. It was referenced in exactly one place in the whole plugin, a fallback for the mirror plane that only runs if the shoulder and hip markers are both on the centre line, which does not happen on a real character. So I retired it. 14 markers down to 13.
I kept its slot in the enum though. The markers are stored in a map keyed by that enum, so deleting the entry would shift every landmark after it and scramble the markers on every asset I already had.
That change broke the whole plugin for a while. The fitter starts with a check that every landmark is placed, and it looped over the whole enum, so with Chin no longer placed it returned false and nothing generated at all. Seven tests went red at once.
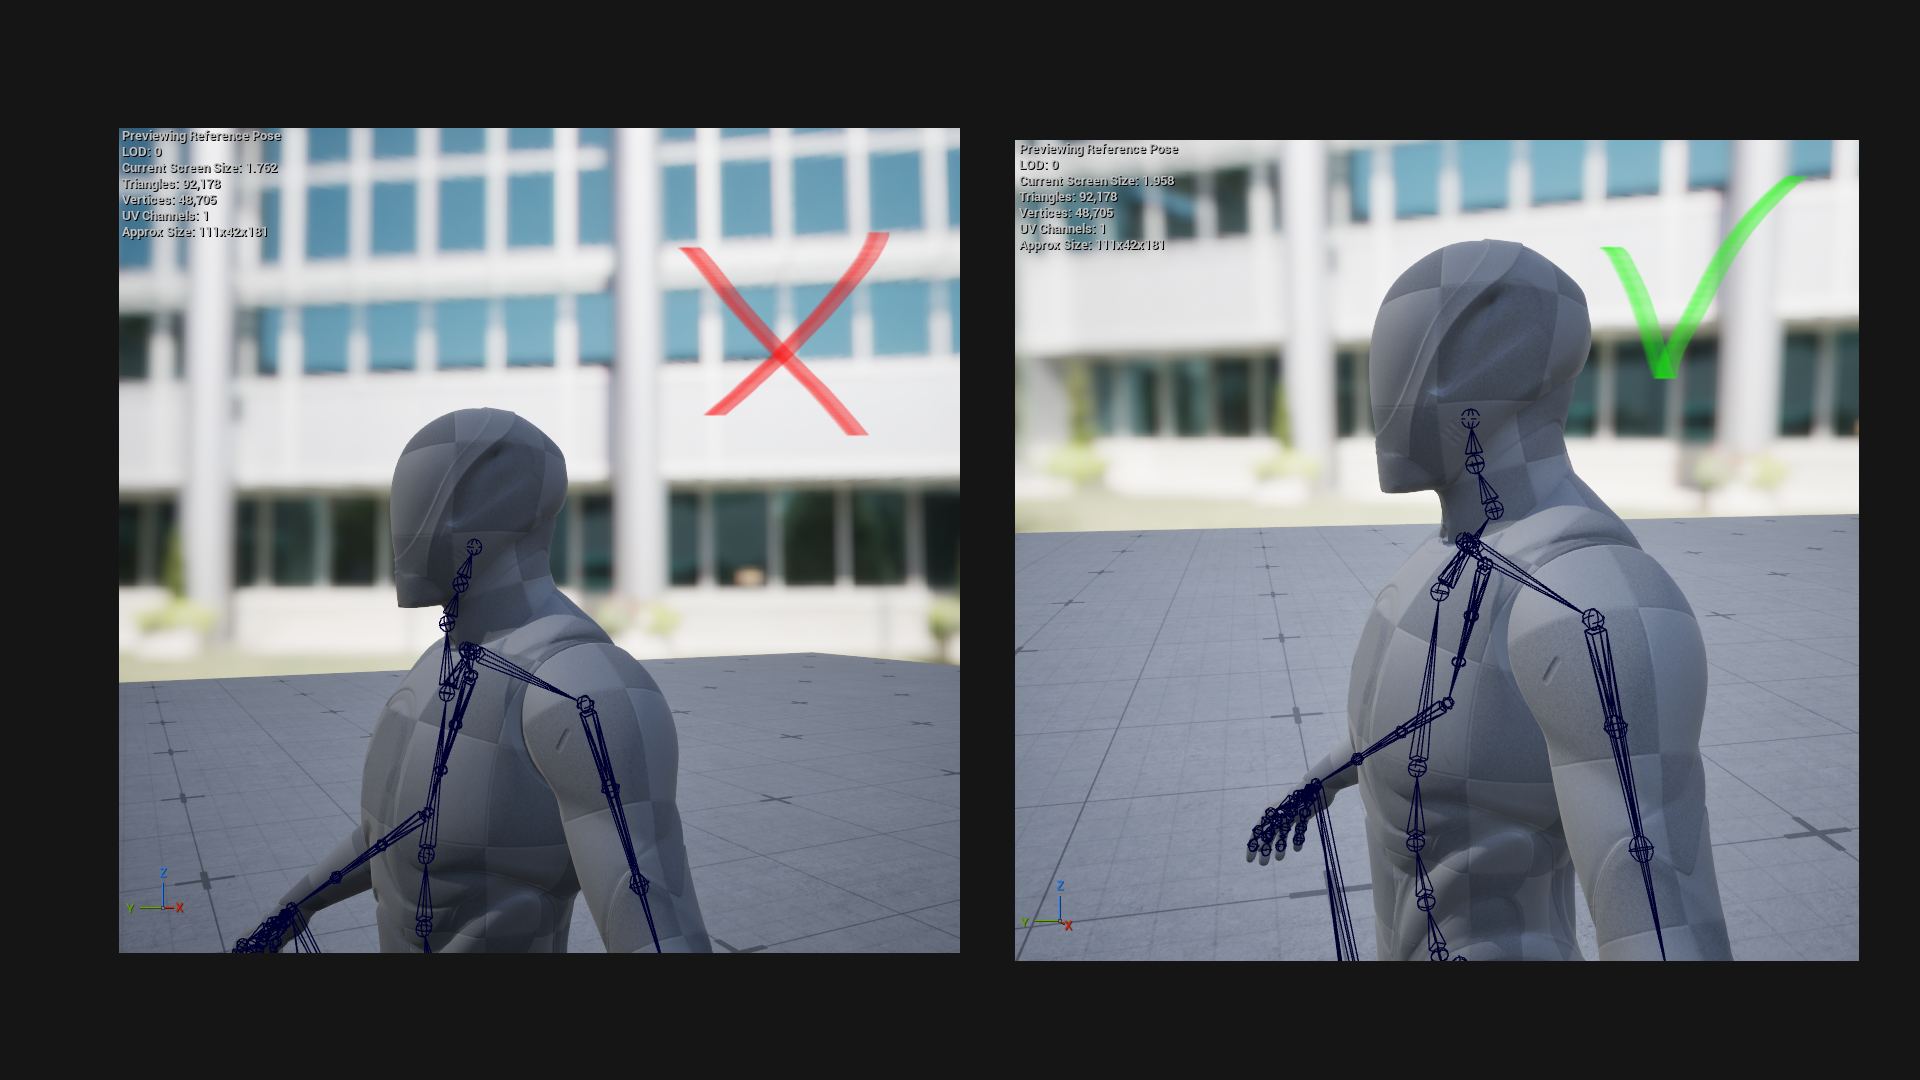
The neck was outside the mesh
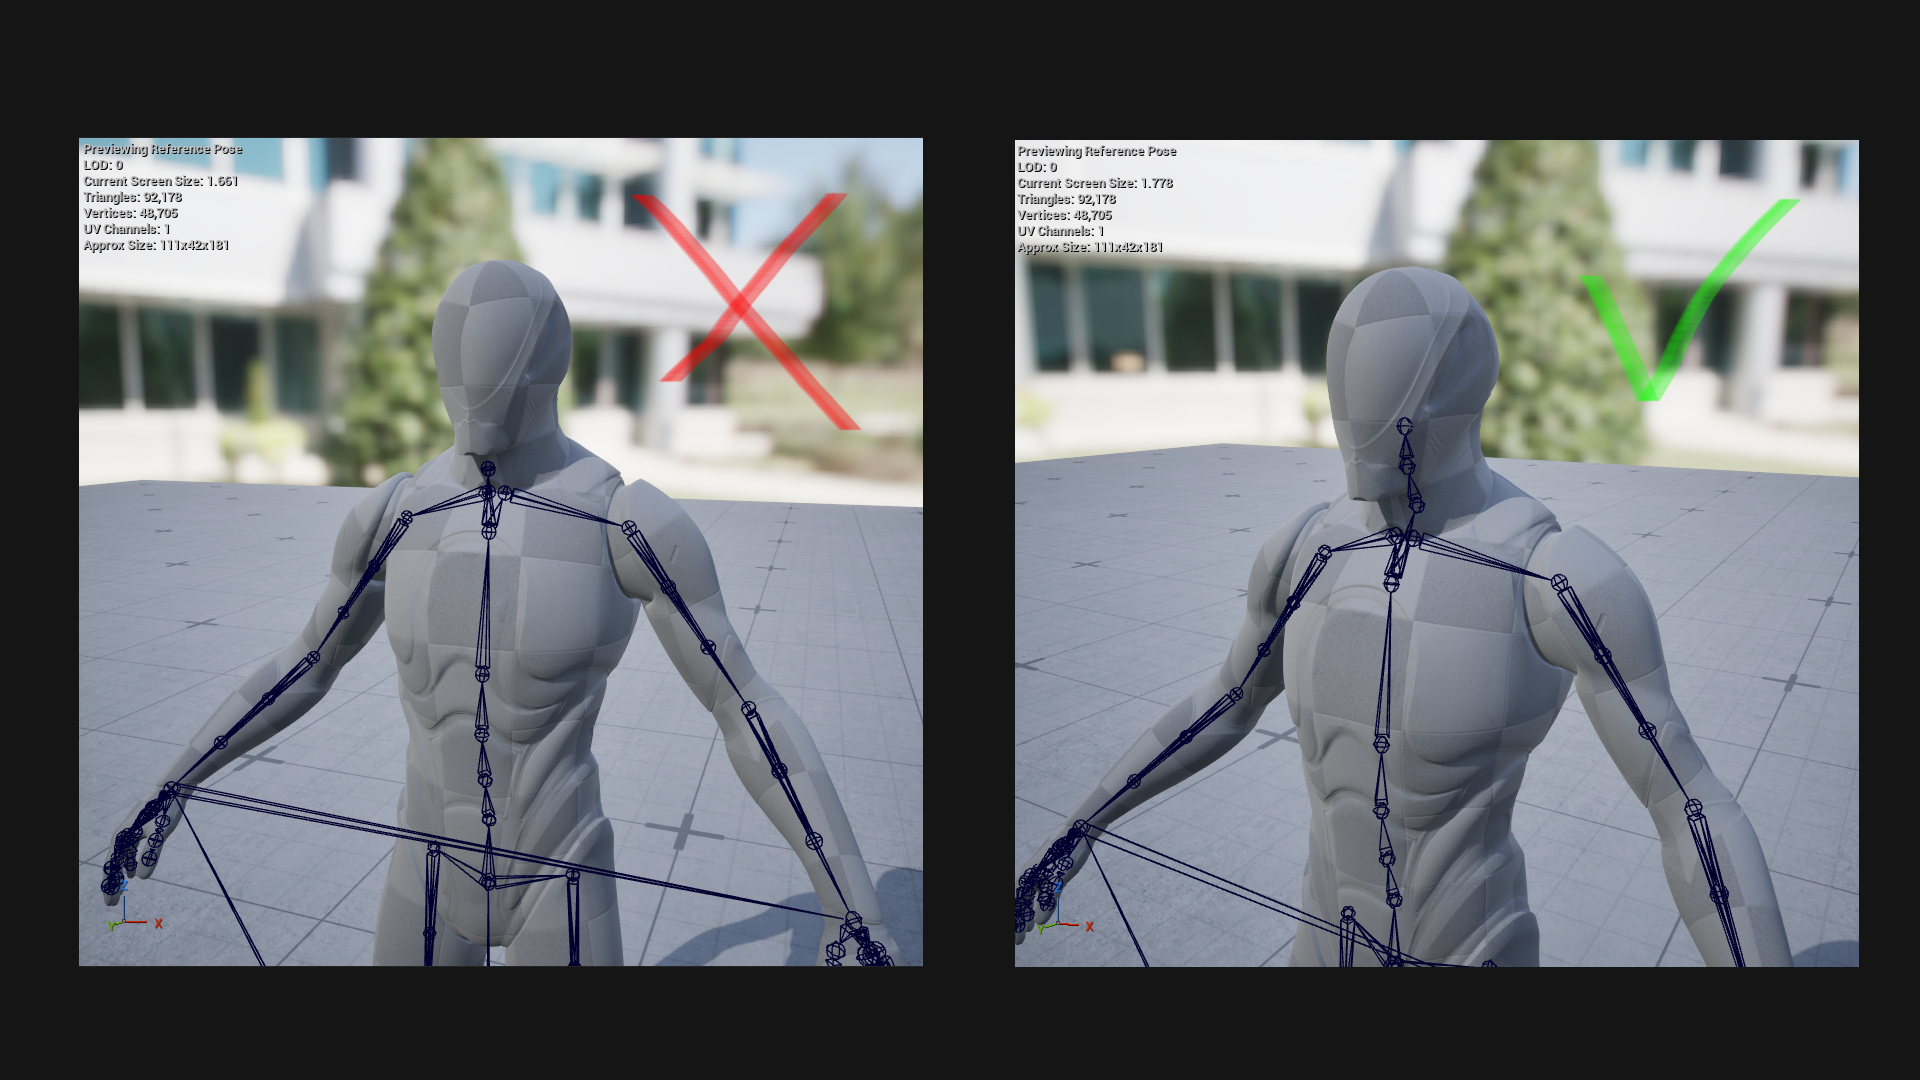
Last one. The neck bones were poking out through the skin. My test mesh is the mannequin, so Manny's own skeleton already tells me where those bones belong. I printed mine next to his, in centimetres:
neck_01came out at (-0.1, 6.9, 153.3), Manny has it at (0.0, -1.6, 152.8)neck_02came out at (-0.0, 5.1, 158.1), Manny has it at (0.0, -0.3, 157.8)headcame out at (0.0, 3.3, 162.8), Manny has it at (0.0, 0.7, 162.6)
The heights match. The whole error is in Y, which is the front to back axis on this mesh, and the neck is 8.5cm too far forward. Everything I had been checking until then was heights, so it never showed up.
The cause was in the editor. Centre line markers like the neck get snapped onto the symmetry plane as they are placed, so the spine comes out straight. That snap used the Mirror Axis setting, which defaults to Y. But Y is not the left right axis here. The mesh bounds are 111 x 42 x 181cm, so X is the wide one and X is the left right axis. The snap was pushing the neck's depth to the middle of the whole body, which is a long way in front of where a neck actually is.
Two fixes. The viewport now works out the left right axis from the mesh bounds instead of trusting the setting, which also fixes the symmetry guide line that was being drawn on the wrong plane this whole time. And the fitter pushes centre line bones to the middle of the body front to back at their own height, so old markers still work without re-placing anything.
What made that work was measuring the front to back extent inside a narrow band along the centre line, instead of averaging everything in a circle around it. I tried the circle first and it only recovered 2.7cm of the 8.5cm, because at neck height a circle pulls in the shoulders and the trapezius and they drag it forward. The narrow band only ever sees the neck.
neck_01 went from 8.5cm off to 2.6cm off, every torso bone now reports inside the mesh, and the head got a little better again.
Where it ended up
The rig looked fine to me the whole time. The head marker looked right and was 9cm wrong. The neck looked roughly right and was 8.5cm forward. I only caught either of them because I printed the numbers and put them next to Manny's.
So the plugin prints them on every run now. Same markers, one less of them, and I can check every bone against Manny without opening the viewport.